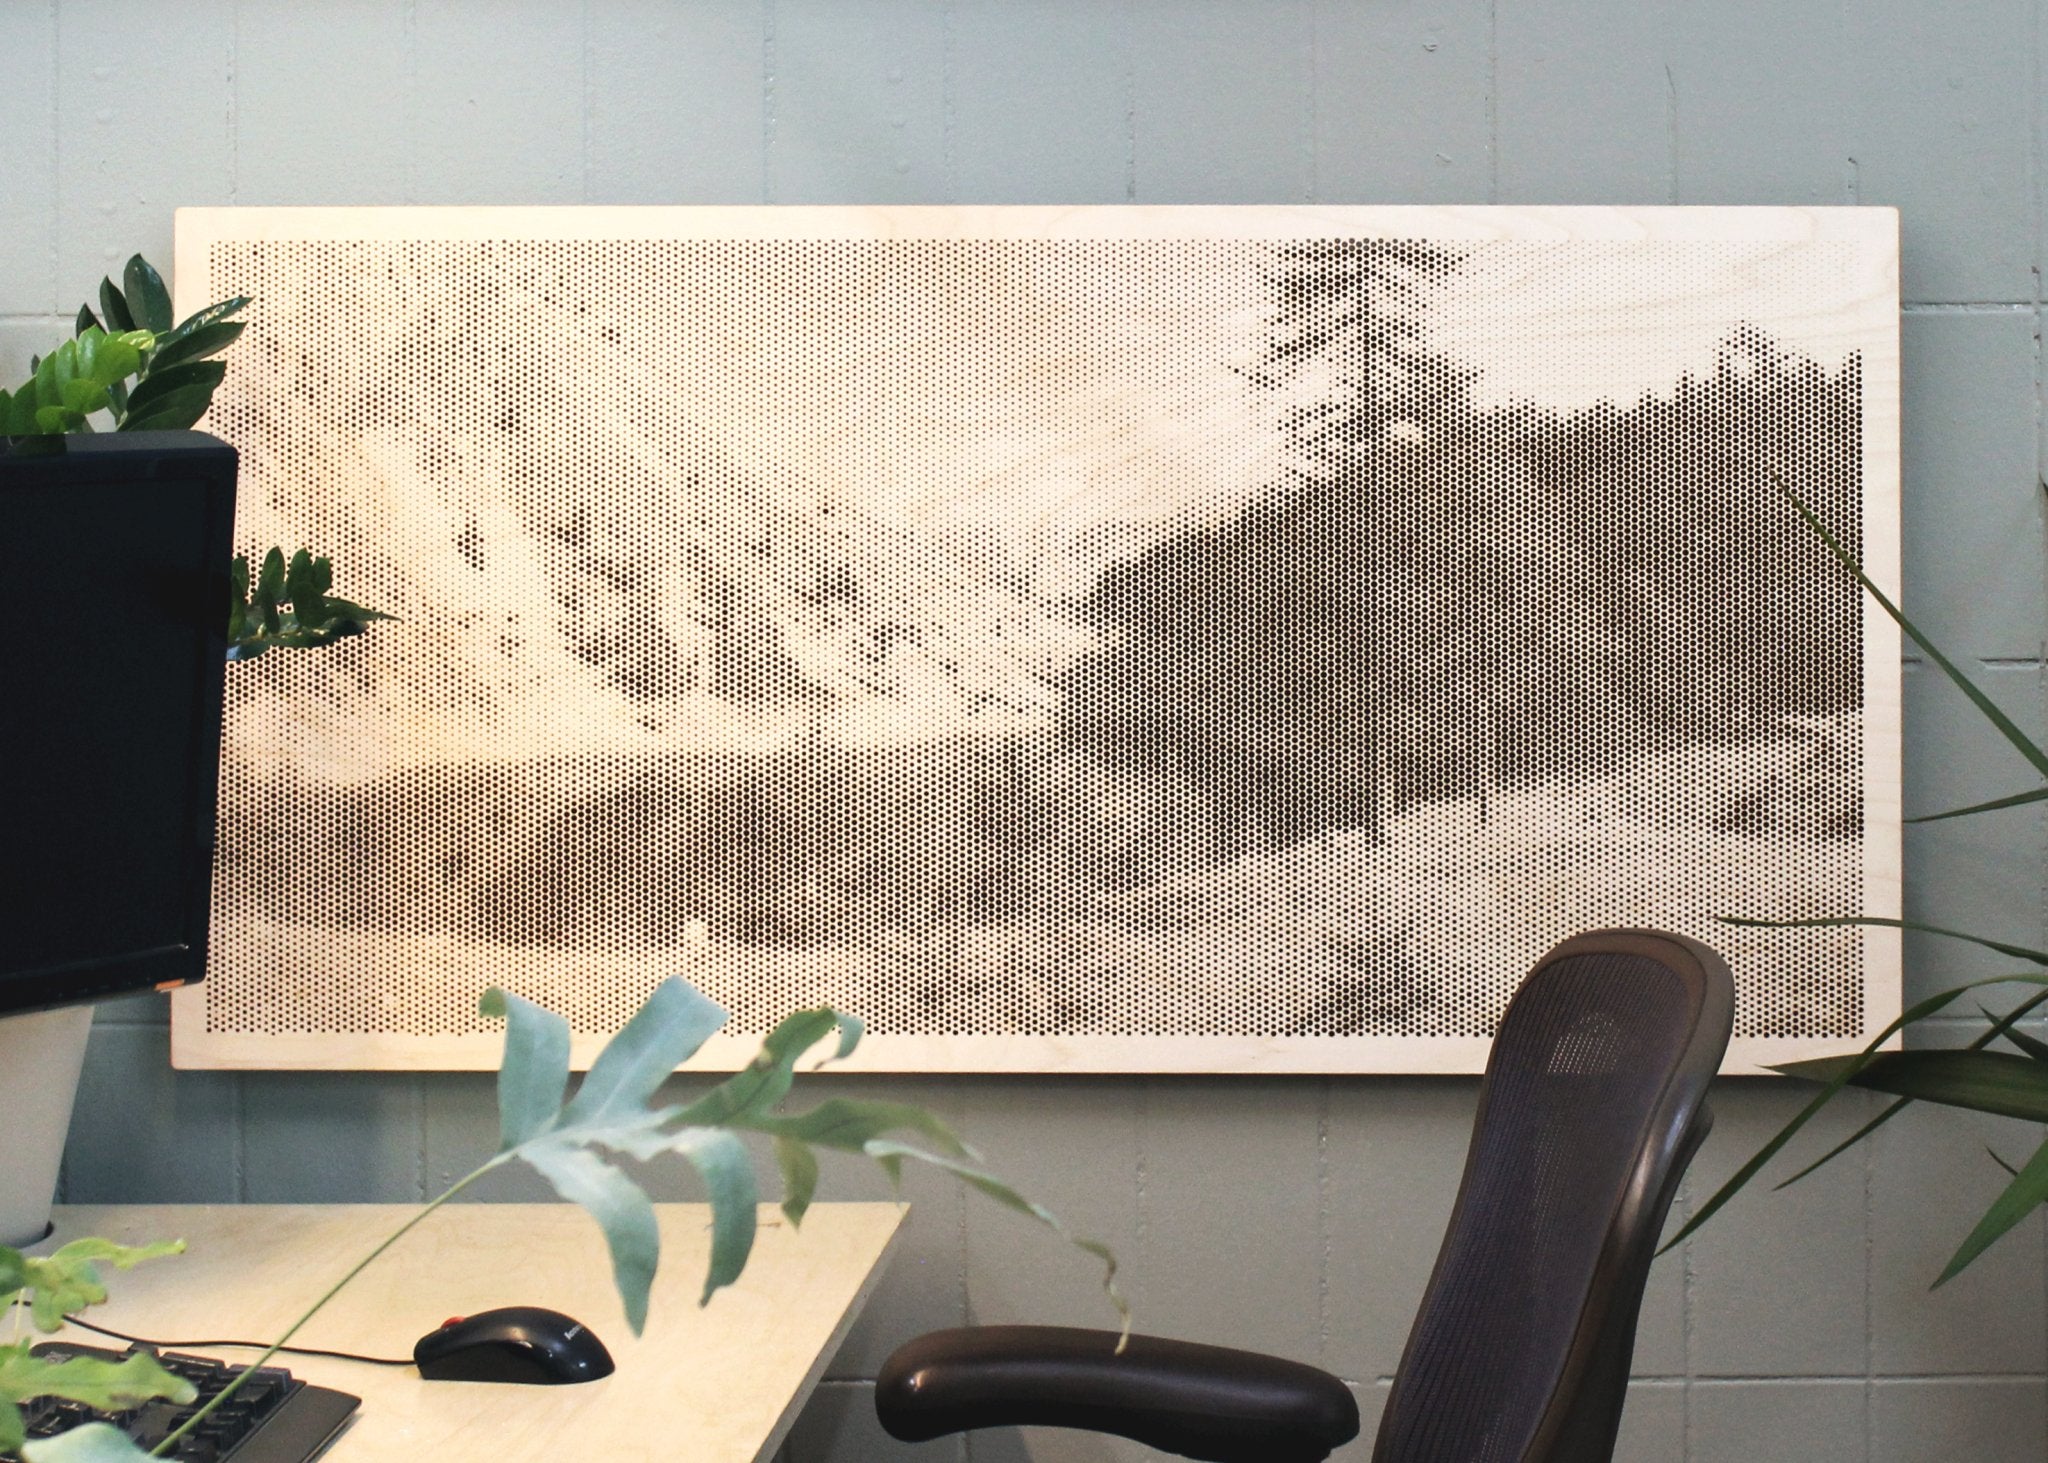

Not only do you create a beautiful and unique panel, it also has an acoustic dampening effect. Perforated sheets are often used in architecture to combat reverberation and dampen sound in rooms.
Do you have access to a laser? Do you have a laser cutter yourself, can you use it at school or is there a fab lab or makerspace nearby? Then you can make a perforated panel with your own image on it.
You do this with halftone, the term for the technique used for these sheets. This tutorial teaches you step by step how you can laser cut an acoustic sheet. Laser cut a unique product and improve the acoustics with your homemade acoustic dampening sheets.
What is halftone?
The image you want to reproduce on the sheet is created by the laser cutter making a large number of holes in it, of different sizes and at different distances. The reprographic technique used to create an image with the laser cutter is called halftone.
The result is a copy of your image in 'continuous-tone'. This means that the image is created by differences in light and dark, not by different colors. Up close it looks like a simple hole pattern, but if you get enough distance the image comes to life.
You can compare it with a painting by one of the pointillist painters. If you look close to it, you only see dots. Only when you step back does it become clear what is actually on the canvas. If you laser cut an acoustic panel, you will create a similar effect, but with holes and not with paint.

To work! This is how you make an acoustic dampening sheet yourself step by step
The first thing you need to do is create a digital drawing in the correct format. Fortunately, that is not difficult, because there is a handy website for this: https://rasterbator.net .
Visit this website. The step-by-step plan below tells you exactly how to prepare your image for your laser cutter.

-
Image
Upload the photo you want to use. You will get the best result if you choose a photo with sufficient contrast. If there is a big difference between light and dark, the halftone technique works best.

-
Size
You will then automatically be taken to the next step: Size . Here you enter the following:
- Paper settings : set these to custom and enter the size of your sheet material. I use 1200x600mm.
- Check the box for Add margin and choose, for example, 10mm. This creates a border around your photo.
- Output size : set this to 1 sheets wide.
If all this is correct, click Continue .

-
Style
The third step you will be taken to is Style . Here select Black and white rasterization and click Continue .

-
Color
In the fourth step, Color , choose the yellow background with brown dots under Presets . This preset is called My first dress .

-
Options
Step 5 concerns Options . Here too, you enter a number of settings manually.
- Output : interlaced halftone
- Drop down menu below: Circle
- Grid size : this is up to you, but I use 5mm. Make the grid size larger, 10 mm for example, so that lasering takes less time. At the same time you also lose detail. Make the grid size smaller and you will create more detail. Laser cutting therefore takes longer and your file becomes larger.
- Grid size : IMPORTANT!! Set this to 0 – 65%. With the maximum grid size of 65%, the largest holes cannot overlap. This prevents pieces of material from falling loose when you cut the image with the laser.
Please note: selecting a different grid size may require adjusting the maximum percentage accordingly. Determining the optimal number often involves a process of trial and error. In the final step, it's crucial to verify that the holes are not excessively large. While aiming for maximum hole size, ensure there is at least 0.8 mm of material between the largest holes to maintain structural integrity.
- Uncheck Crop marks . Page position may also be unchecked.

-
Download your design!
Now click on Complete 1 page poster and your design will be downloaded as a PDF file.

Preparing your file for your laser cutter
The PDF file you created with Rasterbator must be converted into a file suitable for your laser. How exactly you do this depends on which software you use for your laser and what is required for your laser.
For example, my laser needs DXF files, and I use Rhinoceros3D to prepare the file, but you can also use Illustrator, Inkscape, Draftsight or Coreldraw, for example.
In Rhino I open the file and go through the following steps:
- All shapes consist of hatches. I'm going to convert those to lines. To do that I run the commands SelHatch and then DupBorder . This creates all the lines that you will later laser cut.
- Now you can remove the hatches from the drawing. First deselect everything and then run SelHatch and Delete .
- It's starting to look like it. Only the frame still needs to be redrawn, because the Rasterbator draws rectangles on all sides that we don't need.
- Do a check to see if the holes are not too close together. Zoom in on the part with the largest holes. Measure the distance between the holes and check that this is not less than approximately 0.8 mm. Everything is in good order here.
- Save the file and open it in your laser cutting software.


Laser cutting your perforated sheet
Now you can laser cut the acoustic sheet. I do this with 3mm thick birch plywood .
Tip : do you want to cut the smallest halftone laser? Laser board is very suitable for this. You can easily make holes of tenths of a millimeter in it!
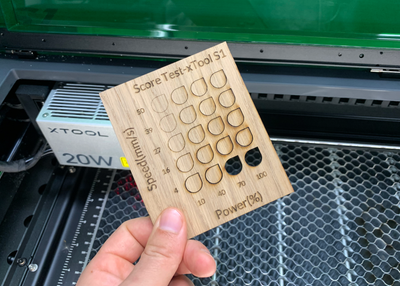
It's not a bad idea to do a few tests beforehand to make sure your laser is set correctly. The cutting itself takes quite a long time, in my case about four hours. Do a few checks in the meantime to see if everything is still going well.
Tip : use masking tape to fix the sheet in your laser. Then it cannot shift during cutting.
Finishing and assembling
Is your laser ready? Then it's time for the finishing touches. I use different sheets (available in the Lasersheets webshop) that I glue together for the best result.
First I sand the sheet on the front with 120 grit sandpaper. This is to remove the smoke edges. I stick it on an intermediate layer of 20mm thick soft foam . You can use spray glue for that.
You stick this on a back plate of 2mm thick MDF . I made two holes in this, with which I can hang the panel.


Halftone image as a unique technique for your laser cutter
Utilize halftone images to laser cut various forms of artwork, including logos, portraits, and abstract patterns. This technique is not only wonderful for personal projects but also serves as a valuable skill to teach students in a school setting or to offer as part of a laser cutting service.
At Lasersheets, we provide a diverse range of materials suitable for laser cutting. If you're interested in laser cutting a perforated psheet, please don't hesitate to reach out. We can offer guidance on selecting the right materials, provide information on tools like Rasterbator and the halftone technique, and assist you in achieving a flawless result.
This approach enables you to create impressive acoustic dampening sheets featuring halftone images, whether in your workshop, school, makerspace, or fab lab. It's sure to leave a lasting impression.