With a laser cutter and a piece of stamp rubber you can easily make your own stamps. What would you like to stamp? From logos to drawings and birthday presents; bring your designs to life.
Stamp rubber is a new addition to our product range, and we are very excited about the possibilities offered by this material. We tried it out immediately for you and here is our tutorial on how to make your own stamps with a laser cutter.
Material:
- Stamp rubber
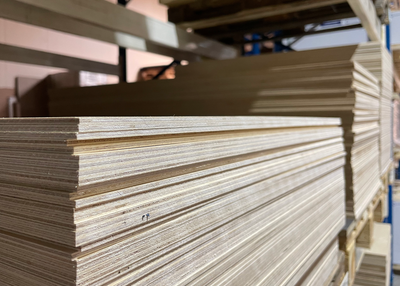
- Piece of wood, preferably a bit thicker (for example, poplar plywood 12 mm)
- Double-sided adhesive foil or rubber contact glue
Step 1: the design
It all starts with the design. This can be a logo, a text or a drawing; what is important is that it is black and white. Rubber allows for very accurate cutting, but this is not always visible when using the stamp. Small details can get lost and narrow corners can fill with ink. On smooth surfaces the ink can leave a blotchy print. Keep this into account when creating your design.
Have a look at your design through your eyelashes to gauge it if is stamp-proof.
Avoid:
- Small details
- Narrow corners
- Large smooth surfaces
Step 2: create a vector drawing
For laser cutting you will need a vector drawing. A much-used programme for this is Adobe Illustrator. You can also design directly in your laser-cutting software, such as Lightburn or XCS.
The parts of the stamp that will carry the ink are the highest and thus remain unprocessed. White spaces around them are removed by engraving the surface. So, what is black in your design remains unprocessed and the white areas of your design are engraved.
Turn your design into a vector drawing, draw a score line around the entire design, and convert white spaces into surface engravings.

Step 3: mirroring your design
Mirror your design. Then the stamp will leave exactly the right impression.

Step 4: create a stamp holder
You can buy a ready-made holder for your stamp, but you can also create a stamp holder yourself from a piece of wood with your laser.
To make your own stamp holder, you draw a generous circle or rectangle around your design and cut it out of wood with your laser cutter. We used poplar plywood of 12mm for this. This wood is thick enough for you to be able to hold your stamp comfortably.
Do you want to make your stamp even more fun? Engrave your design on the top of the holder. Make sure you use your original design, and not the mirrored image you created for the stamp rubber.

Step 5: engraving and cutting
Experiment with your laser to find the right engraving depth for the stamp rubber. An engraving of 0.5 to 1 mm is deep enough for a stamp.
Engrave and cut your design for the stamp rubber with your laser cutter, and cut a stamp holder from wood as well (optional).
Stamp rubber from Lasersheets has been especially produced for creating stamps with a laser cutter. This is safe, but it is still possible that soot and odour are released. Always follow your particular machine’s instructions and ensure good ventilation in the room.

Step 6: assembly
Clean the stamp rubber and degrease the back. Attach it to the holder. You can use double-sided adhesive tape for this, or rubber contact glue.
Step 7: may the stamping begin!
Your homemade stamp is now ready for use. Have fun stamping!