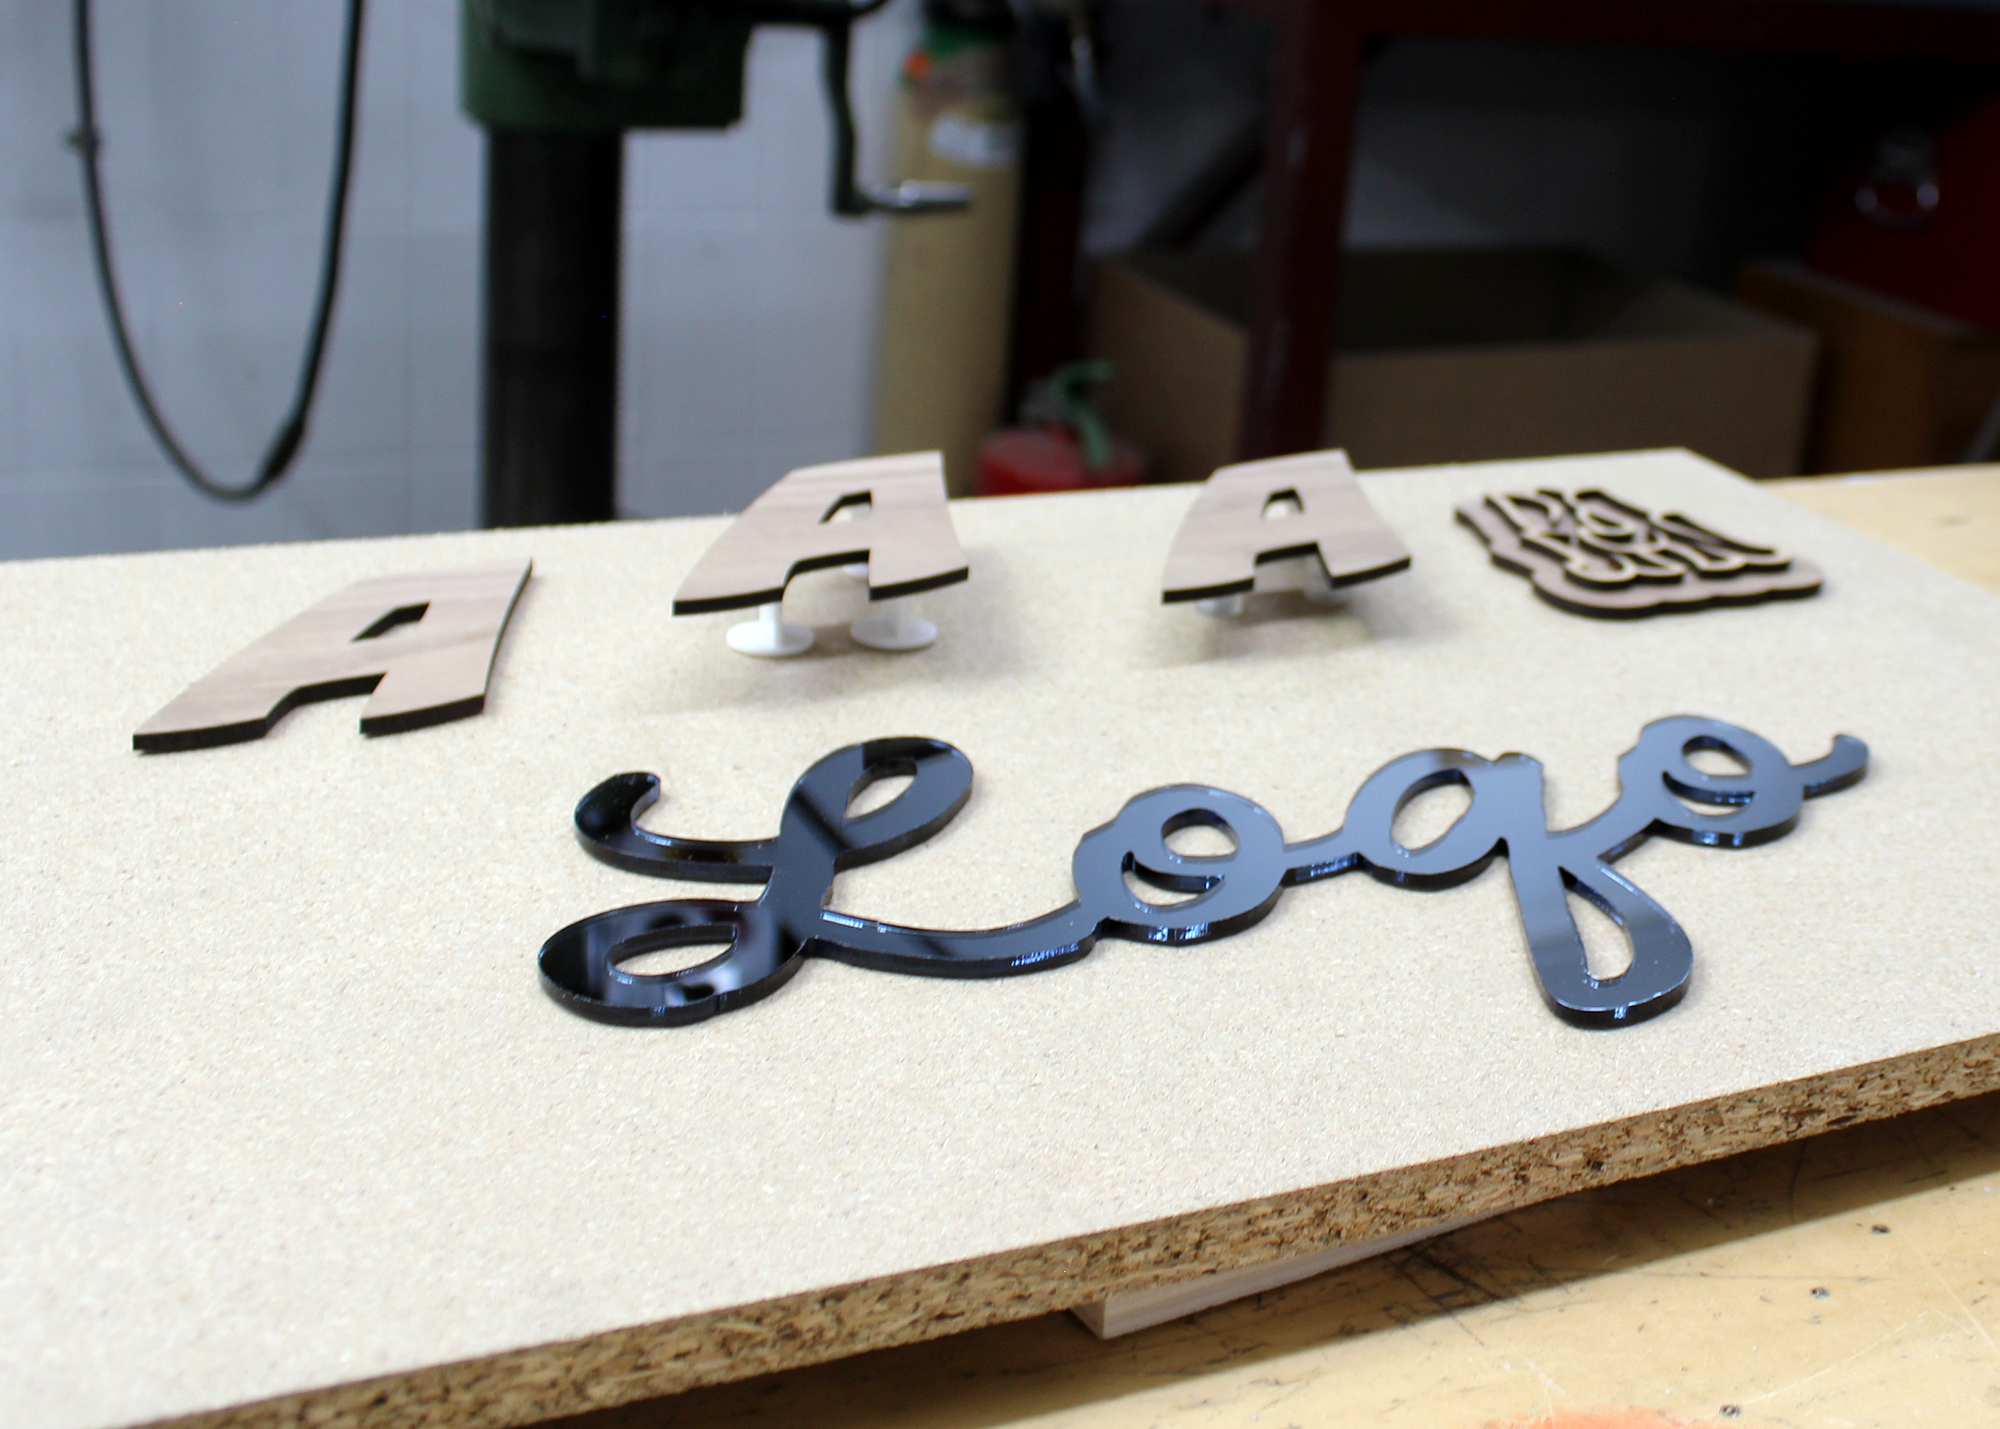
Laser cutting is an ideal way to cut out your logo. It is good for details, suitable for all kinds of shapes and you have a wide choice of materials that match your brand. But how do you hang a laser-cut logo?
From Laser Cutter to Wall: 6 Ways to Attach Your Logo
- Adhesive strips
- Self-adhesive spacers
- Screw Spacers
- Use a base plate
- Adhesive circles
- Sealant

Let’s have a closer look at these methods.
Adhesive Strips

The easiest way to attach your logo to the wall is by using adhesive strips. These strips are transparent, they stick well (also to textured surfaces), and they are easy to remove.
Have a look at adhesive strips here
Self-adhesive spacers

By using spacers, your logo appears to be floating in front of your wall. Self-adhesive spacers are ideal for this and you attach them with the double-sided tape that is included. That way, you attach your logo to your wall easily whilst creating a luxurious look.
Watch out: if you use self-adhesive spacers, make sure that the logo is not too heavy. When in doubt or when you need stronger adhesion, spacers with screws are the best alternative.
Have a look at self-adhesive spacers here
Screw Spacers

Screw Spacers consist of two parts: one you glue or stick to your logo and the other one you screw into the wall. You simply click them together afterwards, but precision work is in order here. Once they are attached, it is almost impossible to take them apart again. Therefore, this is a long-term solution.
Have a look at Screw Spacers here


Use a Base Plate

Using a base plate is an ideal option when you are dealing with an irregular wall or when you want your logo to catch the eye. You can be sure that your letters are straight and the result is more solid as well. This is handy when your logo contains thin lines or letters.
As a designer, you can use your base plate as a frame around your logo. A frame makes the logo stand out in its surroundings. By choosing the right material, you emphasise the mood you want your logo to radiate. Do you want to achieve a natural look? Try using MDF in contrasting colours.
You can attach the base plate to the wall with glue, screws, or spacers. The logo is attached to the base plate with glue, sealant, or adhesive strips.
Adhesive Circles

Adhesive circles are similar to adhesive strips, only they are round. That makes them easier to apply to slimmer narrower letters. The foam core deals with irregularities in the wall, but their adhesive strength is slightly smaller than that of adhesive strips.
Have a look at adhesive circles here

Tip for acrylic: wait with removing the protective foil until the letters are in place. That way, you reduce the risk of scratches.
Sealant
You can also attach the logo to the wall with sealant. This is a relatively simple and very solid solution as well. But watch out, the letters will be difficult to remove without damaging the wall. Keep reading if you want to learn how you make a mould for making sure your logo is dead straight.
Do you want to attach a gold or silver logo to the wall? In that case, we can recommend this sealant: Den Braven Zwaluw Mirrorfix MS.
You can use this sealant for attaching logos made from other materials: Den Braven Zwaluw High Tack.


